Minimal setup list for web developers on a fresh macOS install

- Published on
- /8 mins read/---
Setting up a new dev environment on a new device can be a daunting task, especially when it comes to choosing the right tools and configurations. This blog post recommend you a list of the minimal setup needed to get started with web development on a fresh macOS install.
I could guarantee that this list should only take you around 30" to get your hands dirty with coding .
NOTE
This list is based on my personal Mac setup. It may not be the best for everyone, but I believe it's the most minimal and most simple setup you can choose to start working as fast as possible.
System preferences
I recommend turning on the following settings:
Mouse
- Increase mouse tracking speed.
- Enable "Natural scrolling".
- Click on the right side for right-click.
- Enable Smart zoom.
Keyboard
- Set the key repeat rate to fast (max to the right side).
- Set the delay until key repeat to short (max to the right side).
Appearance (Optional)
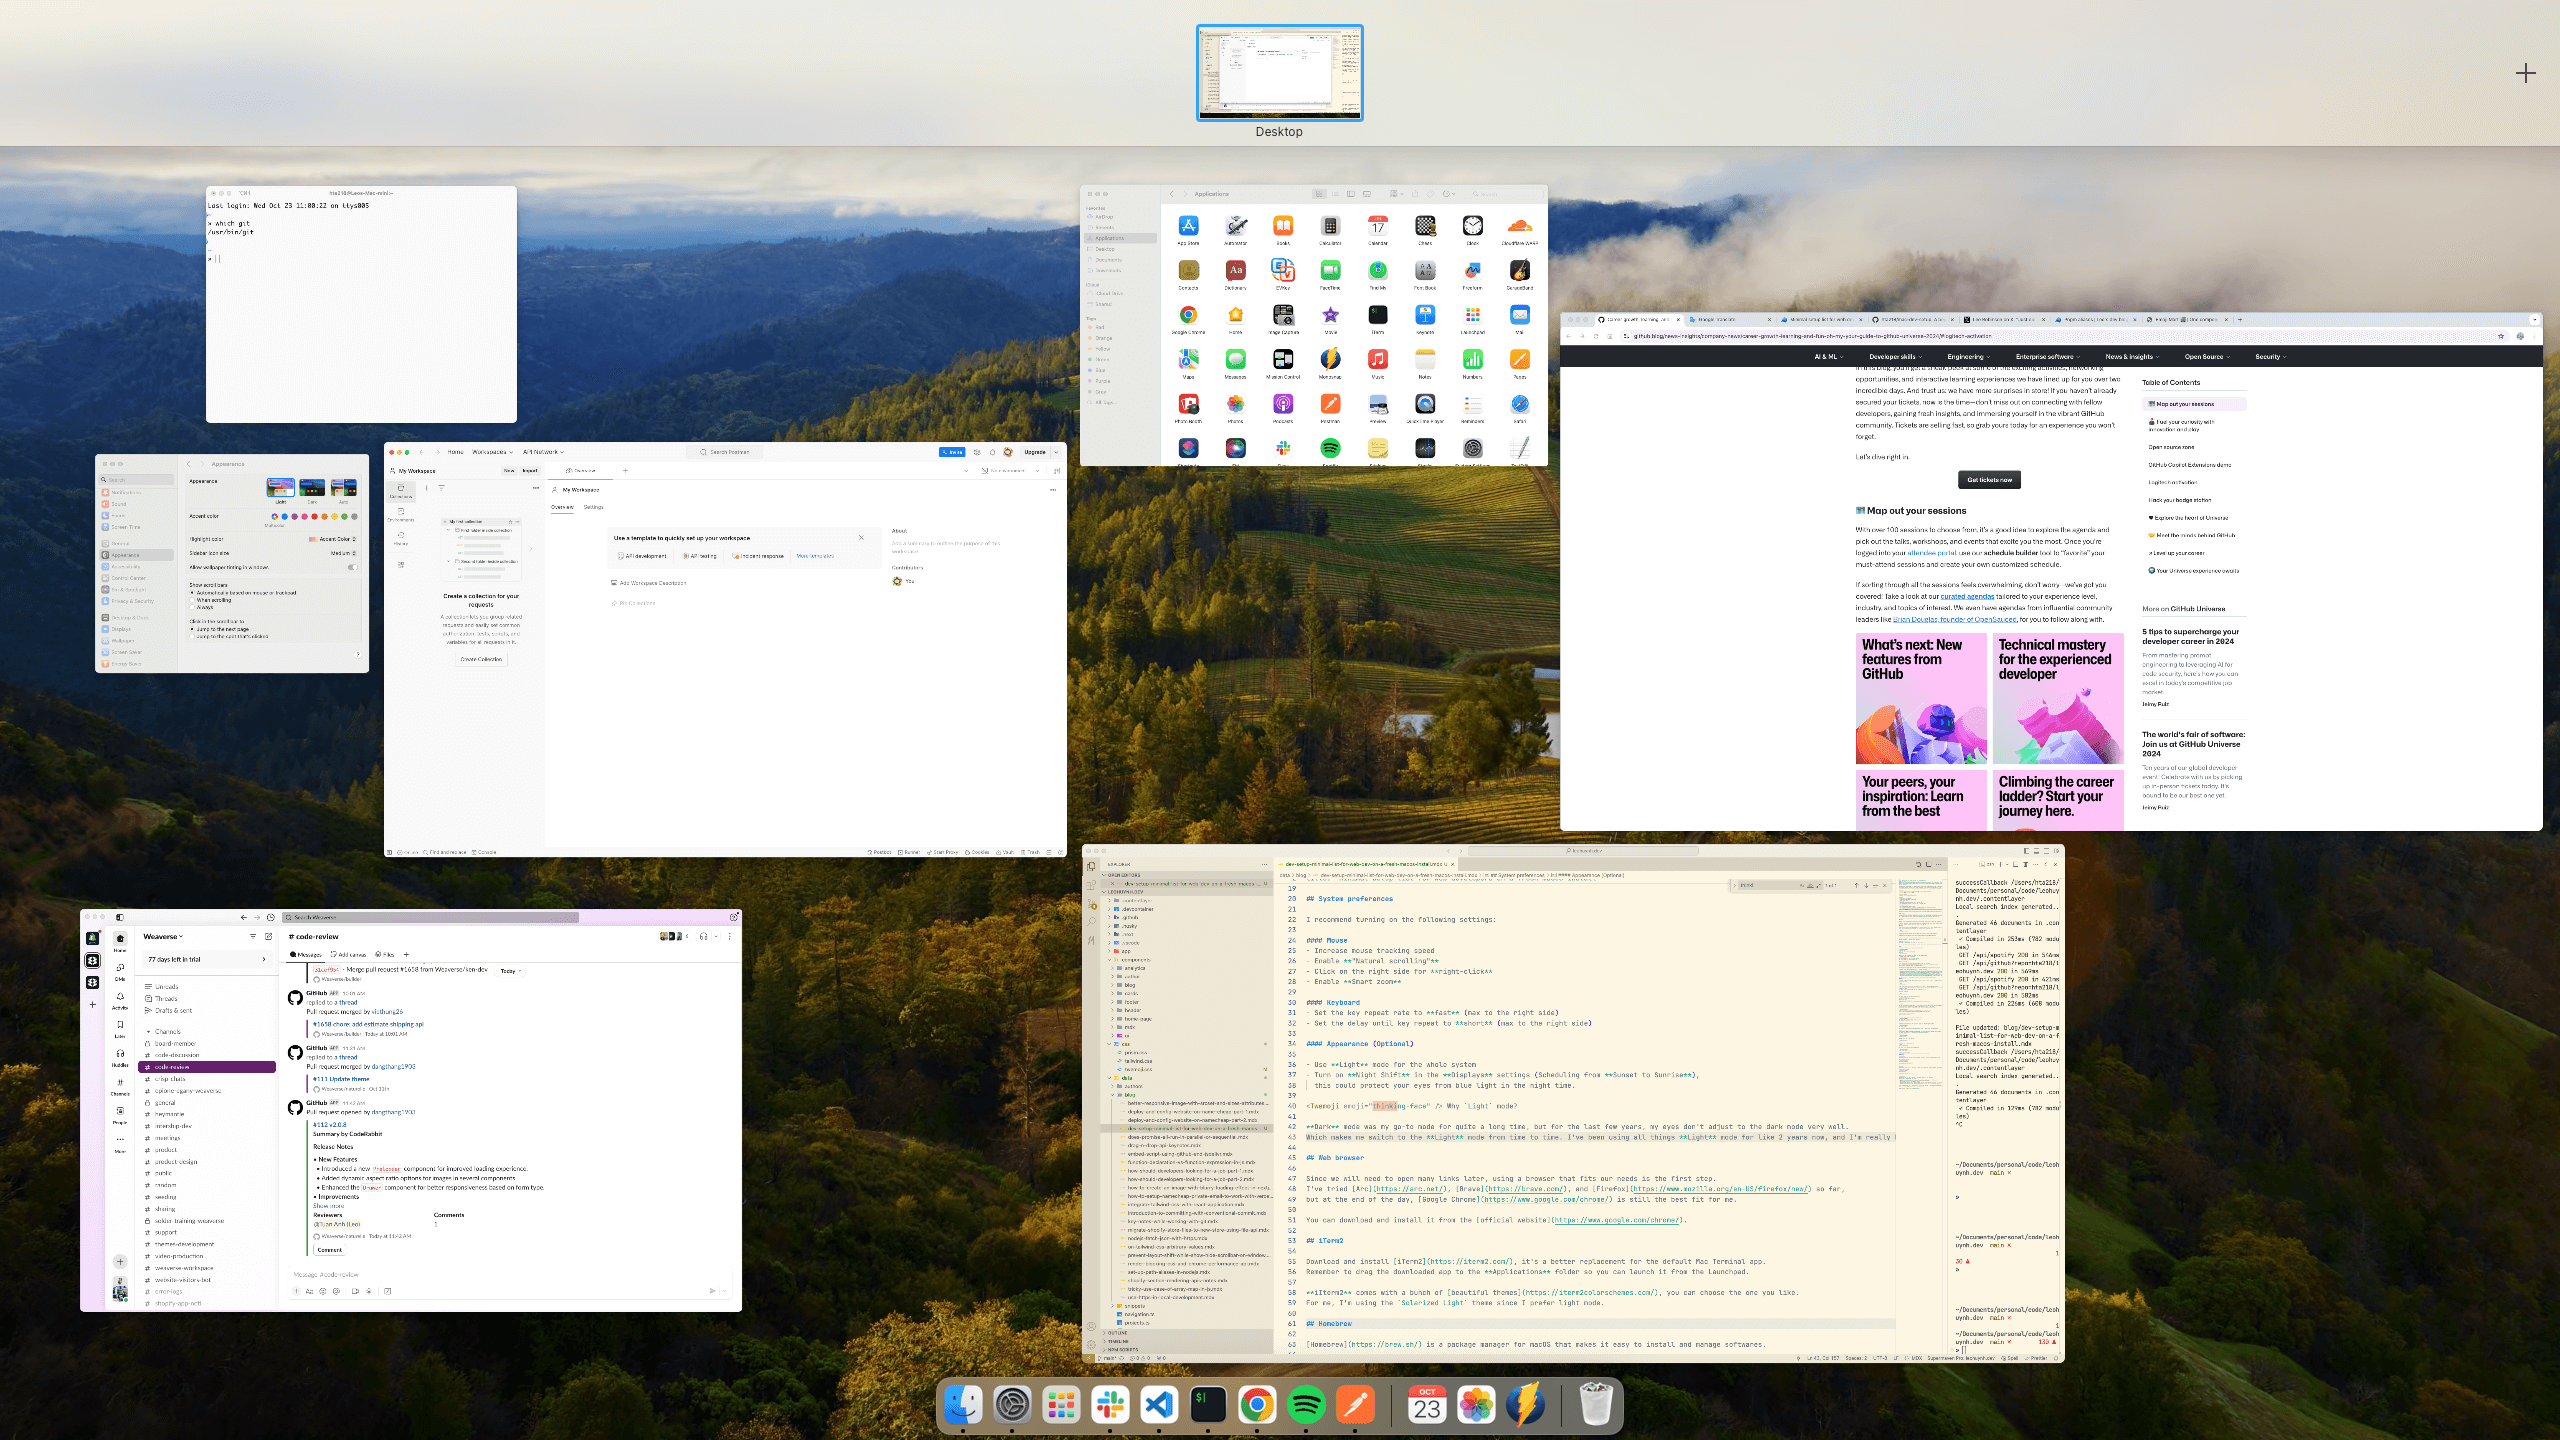
- Use Light mode for the whole system.
- Turn on Night Shift in the Displays settings (Scheduling from Sunset to Sunrise), this could protect your eyes from blue light in the night time.
Why Light mode?
Dark mode was my go-to mode since I started learning to code, but for the last few years, my eyes don't adjust to the dark mode very well. Which makes me switch to the Light mode from time to time. I've been using all day and all things Light mode for like 2 years now, and I'm really happy with it.

Web browser
Since we will need to open many links later, using a browser that fits our needs is the first step. I've tried Arc, Brave, and Firefox so far, but at the end of the day, Google Chrome is still the best fit for me.
You can download and install it from the official website.
iTerm2
Download and install iTerm2, it's a better replacement for the default Mac Terminal app. Remember to drag the downloaded app to the Applications folder so you can launch it from the Launchpad.
iTerm2 comes with a bunch of beautiful themes, you can choose the one you like. For me, I'm using the Solarized Light theme since I prefer light mode.
Homebrew
Homebrew is a package manager for macOS that makes it easy to install and manage softwares. First, you will need to install the Command Line Developer Tools for Xcode with:
xcode-select --installThen download and install Homebrew using the command from the official website:
/bin/bash -c "$(curl -fsSL https://raw.githubusercontent.com/Homebrew/install/HEAD/install.sh)"This could take a while, so be patient. Remember to keep track of the installation process. You might be asked to enter your password.
Once the installation is complete, you can check with:
brew doctor
Your system is ready to brew. # If you see this, you're good to go
For more information on how to use Homebrew's commands, check out their documentation.
Git
Install the latest version of Git with:
brew install git

# When done, verify the installation with
which git
# /usr/local/bin/git
Next, you will need to configure your Git user name and email address. I recommend setting up them globally with:
git config --global user.name "your-github-username"
git config --global user.email "your@email.com"
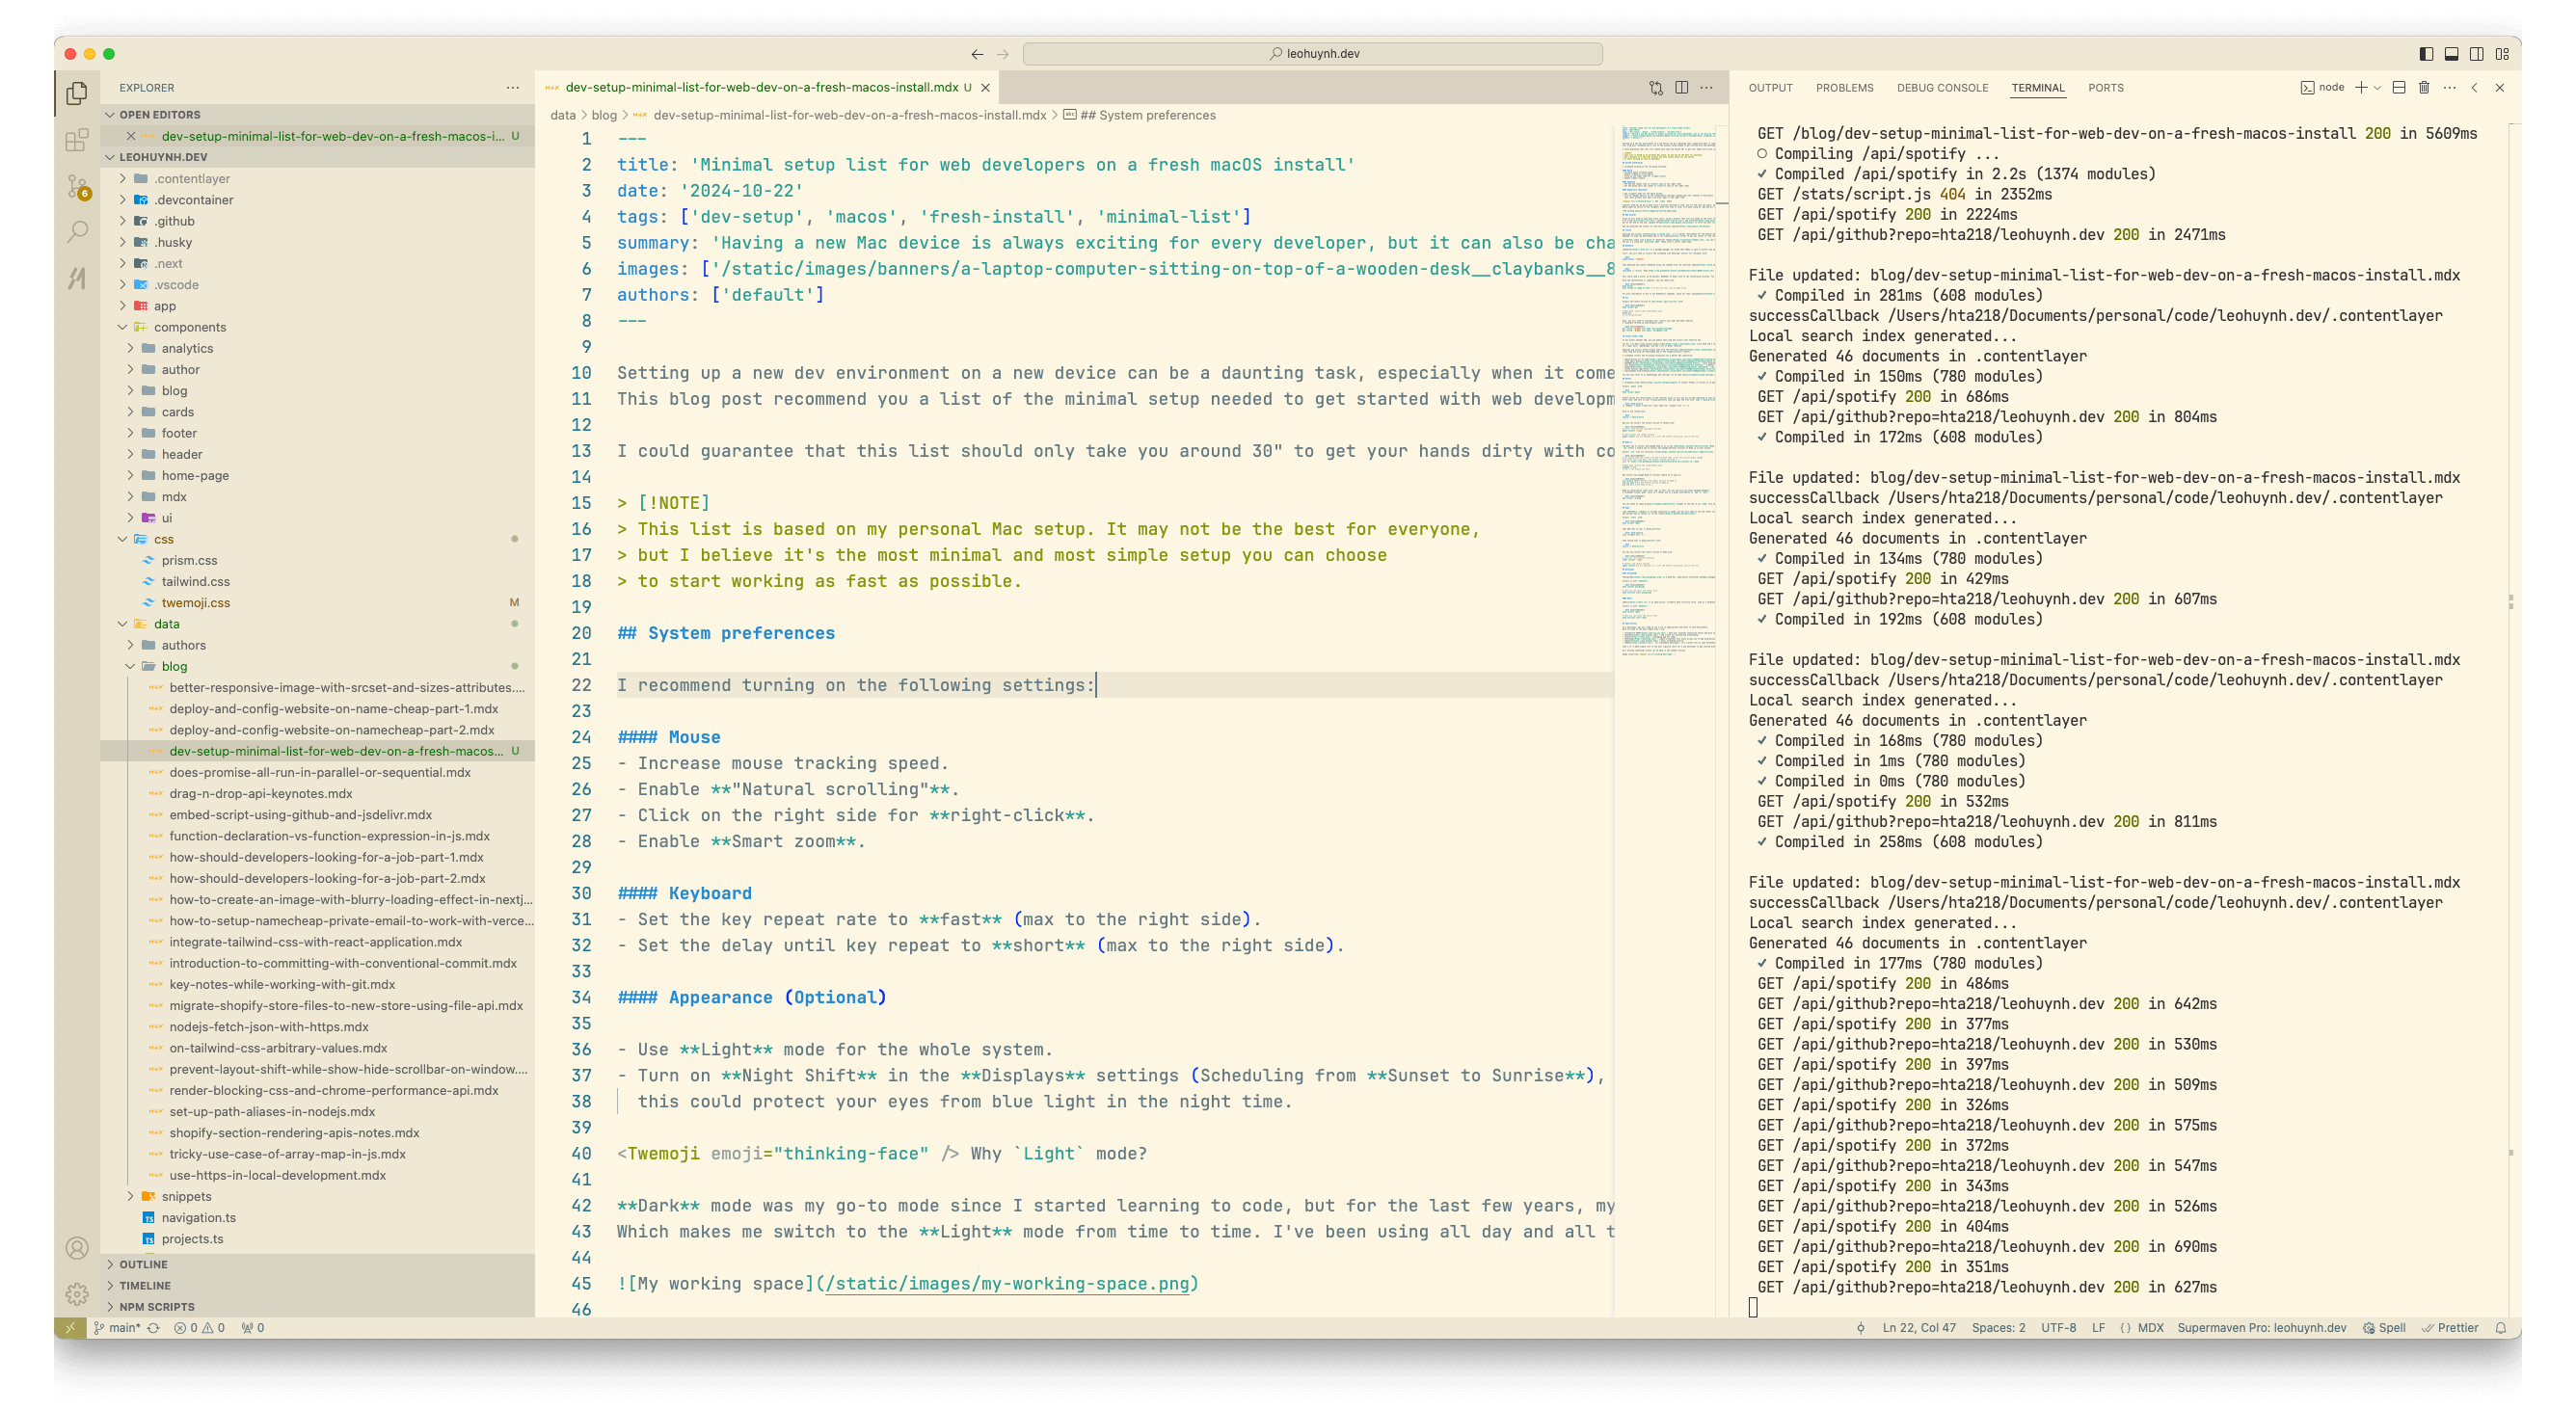
Visual Studio Code
If you prefer another IDE, you can bypass this step and install your favorite one.
For me, I've been using Visual Studio Code since 2018 and I love it. It's super fast, lightweight, and has a lot of great features.
Download and install Visual Studio Code from the official website (then drag and drop the downloaded app to the Applications folder).
I recommend install the following extensions for a better dev experience:
- EditorConfig for VS Code - unified editor config for all your projects.
- Code Spell Checker - every developers should have this extension.
- DotENV - syntax highlighting for .env files.
- Git Blame - a better alternative to GitLens, since I found it to be slow and too much unnecessary features (for me, I only use it for Git Blame).
- Supermaven - The fastest copilot (as in their introduction, and I really feel it's faster than Github Copilot).
- Turbo Console Log - quickly log any objects or functions (in your JS code base) with a keyboard shortcut.
- TailwindCSS IntelliSense - a must have extension for Tailwind CSS developers.
You can also refer to my keybindings and settings for VS Code here.

Python
I recommend using Pyenv to install Python (it allows us to manage multiple versions of Python, e.g., 2.x or 3.x). Install pyenv with:
brew install pyenvPlease follow the instructions on the terminal since it will ask you to add something to your dotfiles. After that, add this to your .bash_profile (you can open the file with code ~/.bash_profile or vim ~/.bash_profile):
if command -v pyenv 1>/dev/null 2>&1; then eval "$(pyenv init -)"; fiSave it and reload with:
source ~/.bash_profileNow you can install the latest version of Python with:
# First, list all the available versions
pyenv install --list

# Then install the latest version
pyenv install 3.x.x # Replace 3.x.x with the latest version you see in the list
Node.js
The best way to install and manage Node.js is to use nvm (Node Version Manager). nvm offers a simple way to install and manage multiple versions of Node.js in your system.
Install nvm with its official script:
# You should copy the script from Nvm's Github repo, since the version might change
# Up until this blog post, the latest version was 0.40.1
curl -o- https://raw.githubusercontent.com/nvm-sh/nvm/v0.40.1/install.sh | bash

# When done, verify the installation with
command -v nvm
# nvm -> you should see this
Now install and manage Node.js versions should be as easy as:
nvm install node # Install the latest version of Node.js
nvm use node # Use the latest version of Node.js
nvm use 22.x # Use Node.js 22.x
Node.js installation comes with npm as well, but you can also use other package managers. I recommend trying pnpm since it's faster and is a great alternative to npm or yarn.
npm install -g pnpmYou can check my pnpm aliases snippet to see how to use pnpm with aliases.
Ruby
Like Python, Ruby is already installed on macOS, but you will need to use the latest version of Ruby. The easiest way to install is to use rbenv. Install rbenv with:
brew install rbenvThen add this to your .bash_profile:
eval "$(rbenv init -)"Then reload your .bash_profile with:
source ~/.bash_profileYou can now install the latest version of Ruby with:
# List all the available versions
rbenv install --list

# Install the latest version
rbenv install 2.x.x # Replace 2.x.x with the latest version you see in the list
Database
PostgreSQL
PostgreSQL is a powerful, open-source relational database management system.
Install it with Homebrew:
brew install postgresql

# Then you can start the server with
brew services start postgresql
Redis
Redis is an open-source, in-memory data structure store, used as a database, cache, and message broker.
Install it with Homebrew:
brew install redis

# Then you can start the server with
brew services start redis
Applications
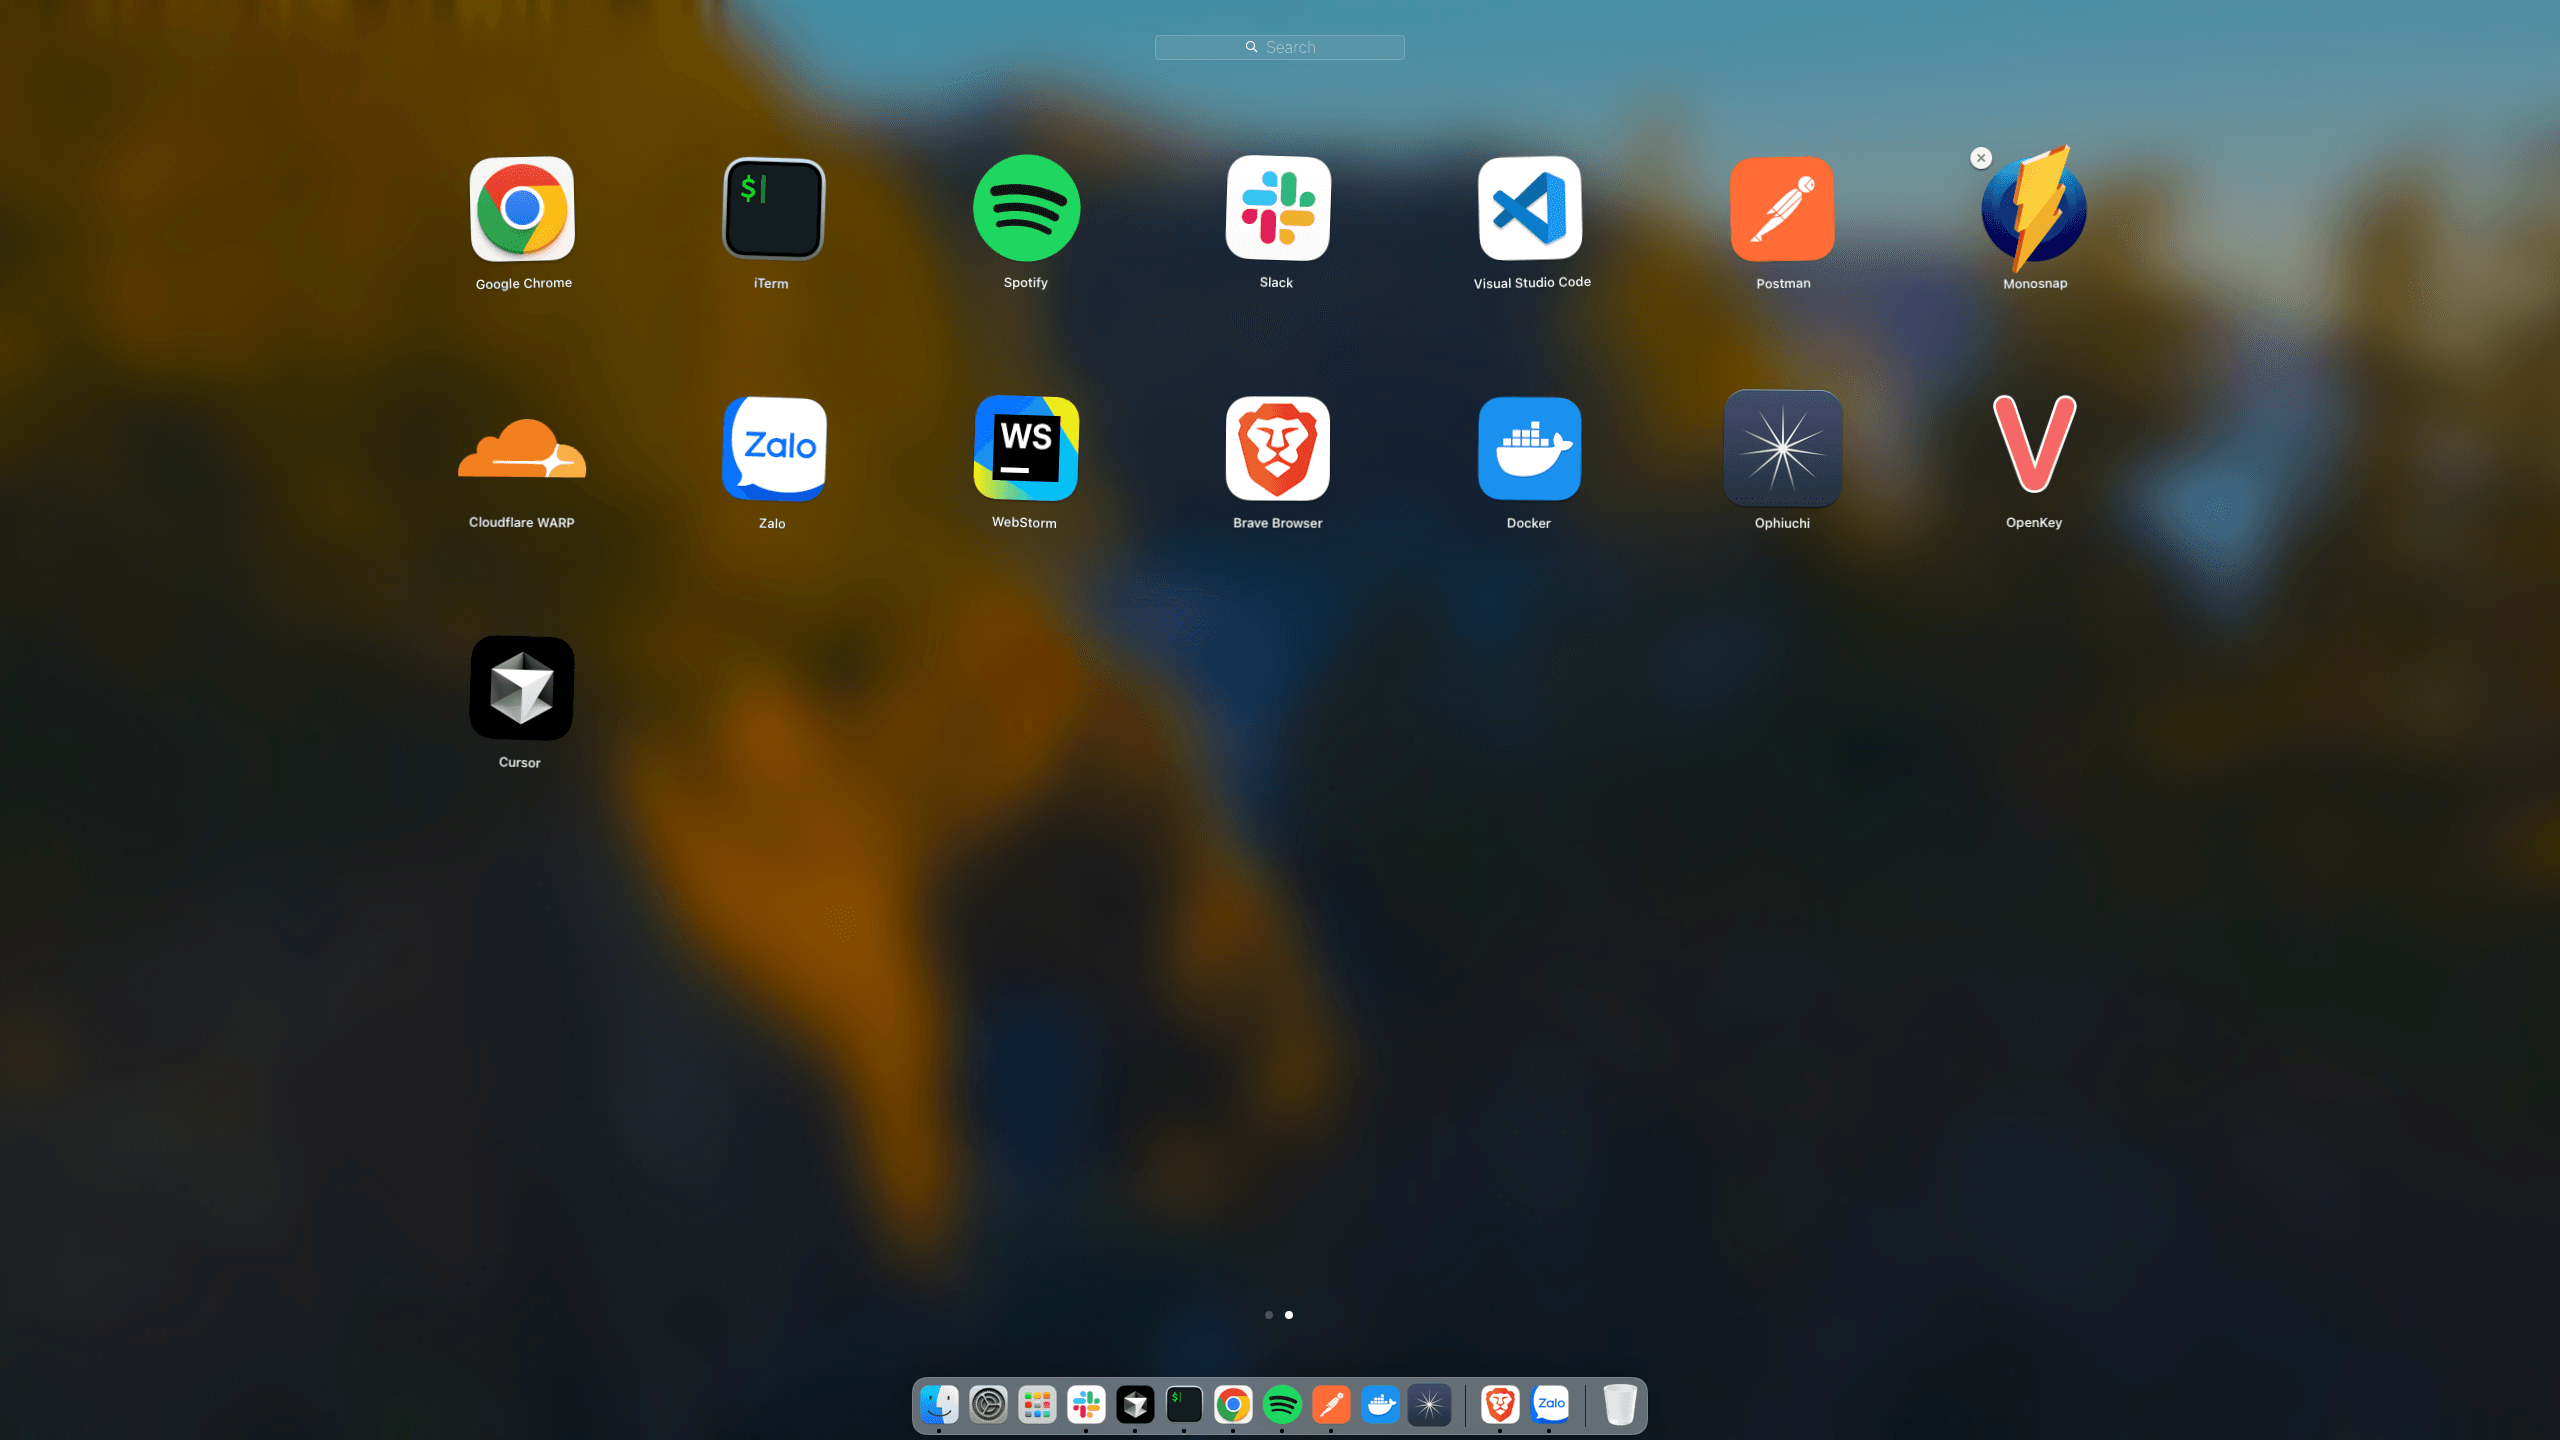
As a developer, you will need to use a lot of applications and tools to work efficiently. Here are some of the most common ones I use:
- Cloudflare WARP - make your internet connection faster and more secure.
- Postman - API client for testing and prototyping.
- Slack - messaging app for teams.
- Monosnap - simple screenshot tool which allows you to add annotations, crop, or resize your screenshots. (It can also be used as a screen recorder).
- Spotify - music streaming service.
- OpenKey - for Vietnamese developers, it's a great tool to type Vietnamese characters.

That's it! A dead simple list of the most required tools for a web developer to get started with coding as quickly as possible.
Am I missing something? Please let me know in the comment section.
Happy installing
